This project took an entire week of working every hour of the day to complete the jacket. I used a free pattern from MOOD (The Avelia Bomber Jacket), and designed the piecework to work with the jacket shape. I wanted to show a starry night, mountains, and a colorful river beneath the mountains.


Above are the front and back views. Below are the side views.
I was both the photographer and the model.
I was both the photographer and the model.


Planning:
I sketched out a plan for a pattern of piecework on Procreate, using the colors of the fabrics I have. This plan changed slightly during the creation (I was able to find dye to make the ribbing colorful and not white, for example).


Step One:
Cut the ribbing from the fabric and dye it blue to match the "sky" color.
I used Rit Dye, and boiled water over the stove top. From my experience in NTID's costume shop, I now know why this is dangerous, and I don't plan on dying things this way again.
I cut the ribbing for the waist and the cuffs, but I didn't cut the ribbing for the collar- instead I measured out how much fabric I would need, and dyed the entire chunk. I ended up dying all of my ribbing fabric- I measured perfectly while in store! Nothing was left over.


Step 2:
Cut out and sew inner lining from flannel. I chose a navy blue flannel to line it. I later make pockets with this same material.
Some of my images have text over them to explain what is happening in the image.
Step 3:
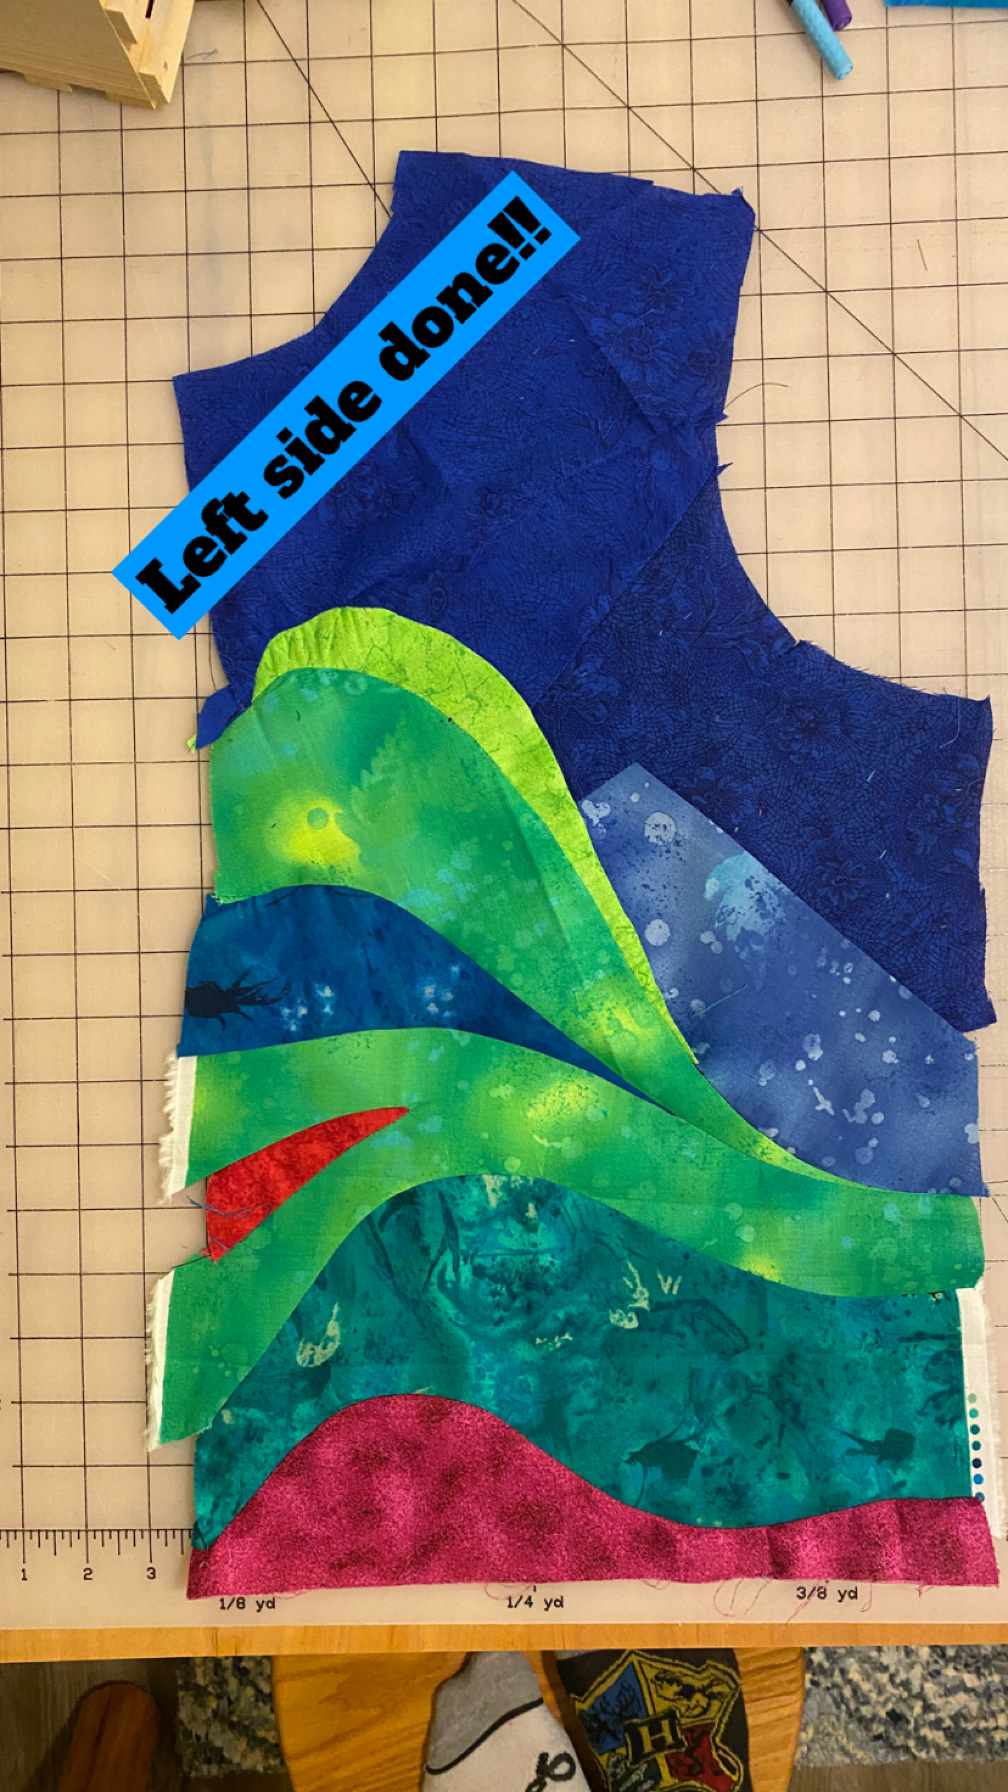
Draw the piecework on the pattern and cut that out. I followed my planning sketch to know where to put my designs.


Step 4:
Sew all piecework together.
There were over 150 pattern pieces in the end, that I had to sew together.
The pattern is a reverse image of the patchwork final.


Step 5:
Sew all of the outer pieces together!! I attached them to the lining via the ribbing, and added pockets and a zipper.